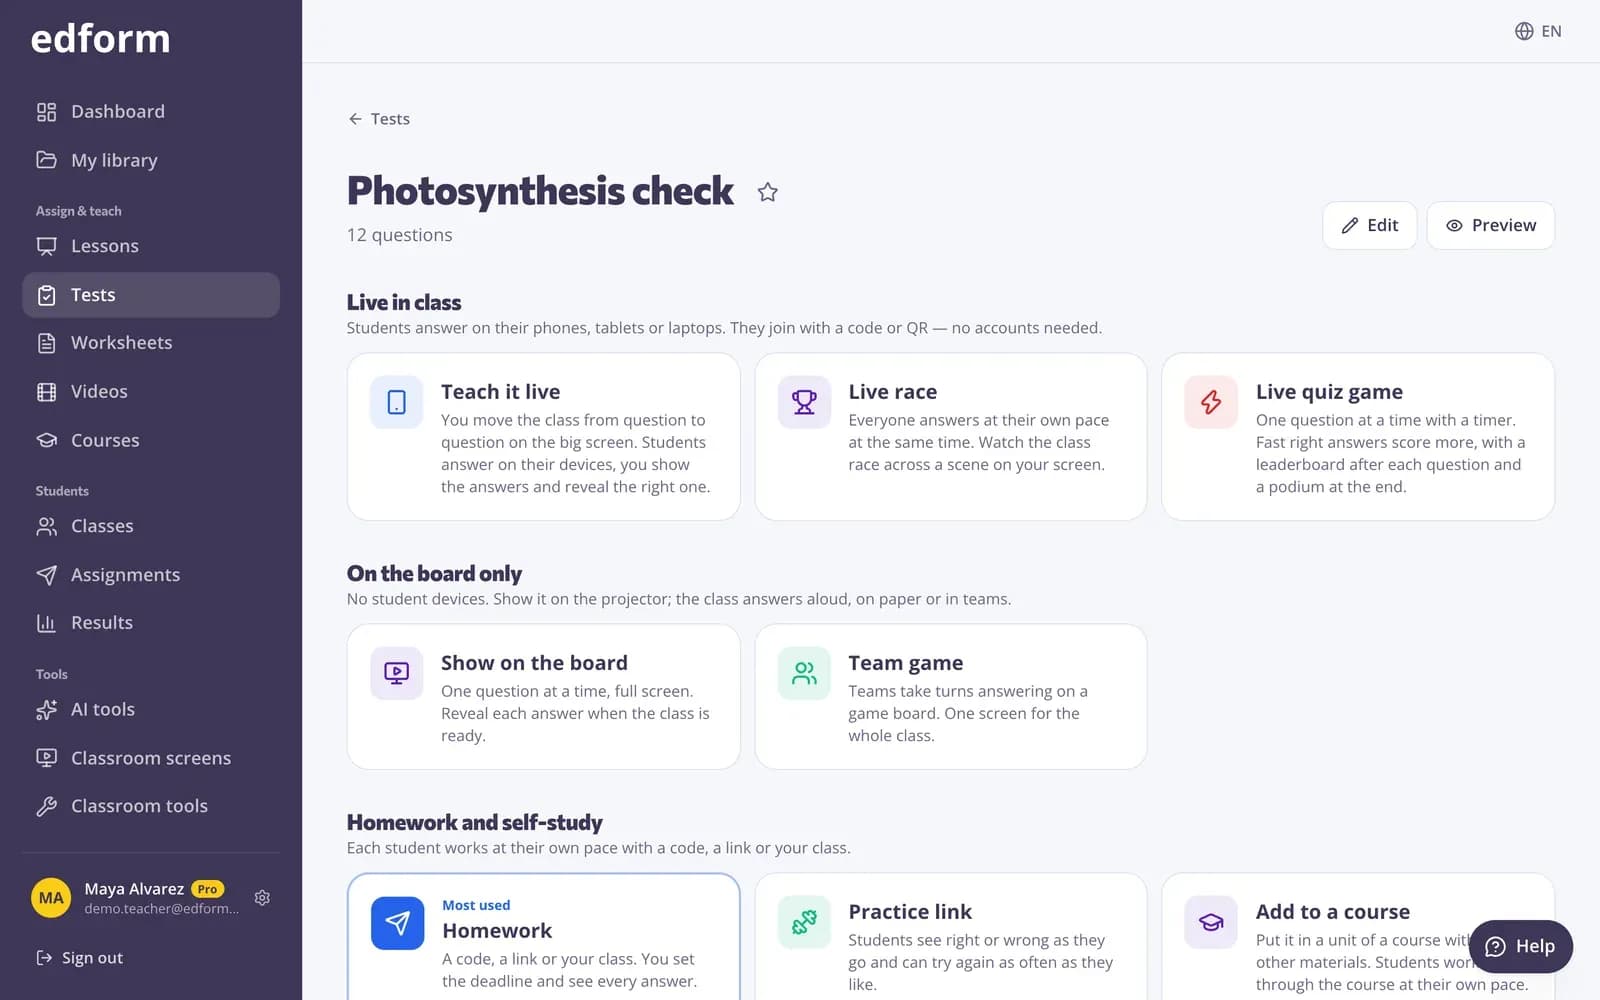
Open the test you want to give
Step 1: Go to “Tests”
In the sidebar, under “Assign & teach”, click “Tests”. Your tests are listed under “My tests”.
Step 2: Click “Use with class”
You'll find it next to the test in the list, or in the top bar of the test editor. It opens the “Use this test” page with every way to use the questions.
Step 3: Choose “Homework”
This opens the “Give as homework” page. The test needs at least one question first.
Choose the settings
The defaults suit most homework, so you can also go straight to the last step.
Step 1: Check the name students see
“Name students see” starts with the test title. Change it if you give the same test to several groups.
Step 2: Pick who it is for
Under “Who is it for?” choose “Young learners”, “Middle school”, “High school” or “College”. Each choice sets sensible options for that age, and you can still change every one.
Step 3: Decide who can join
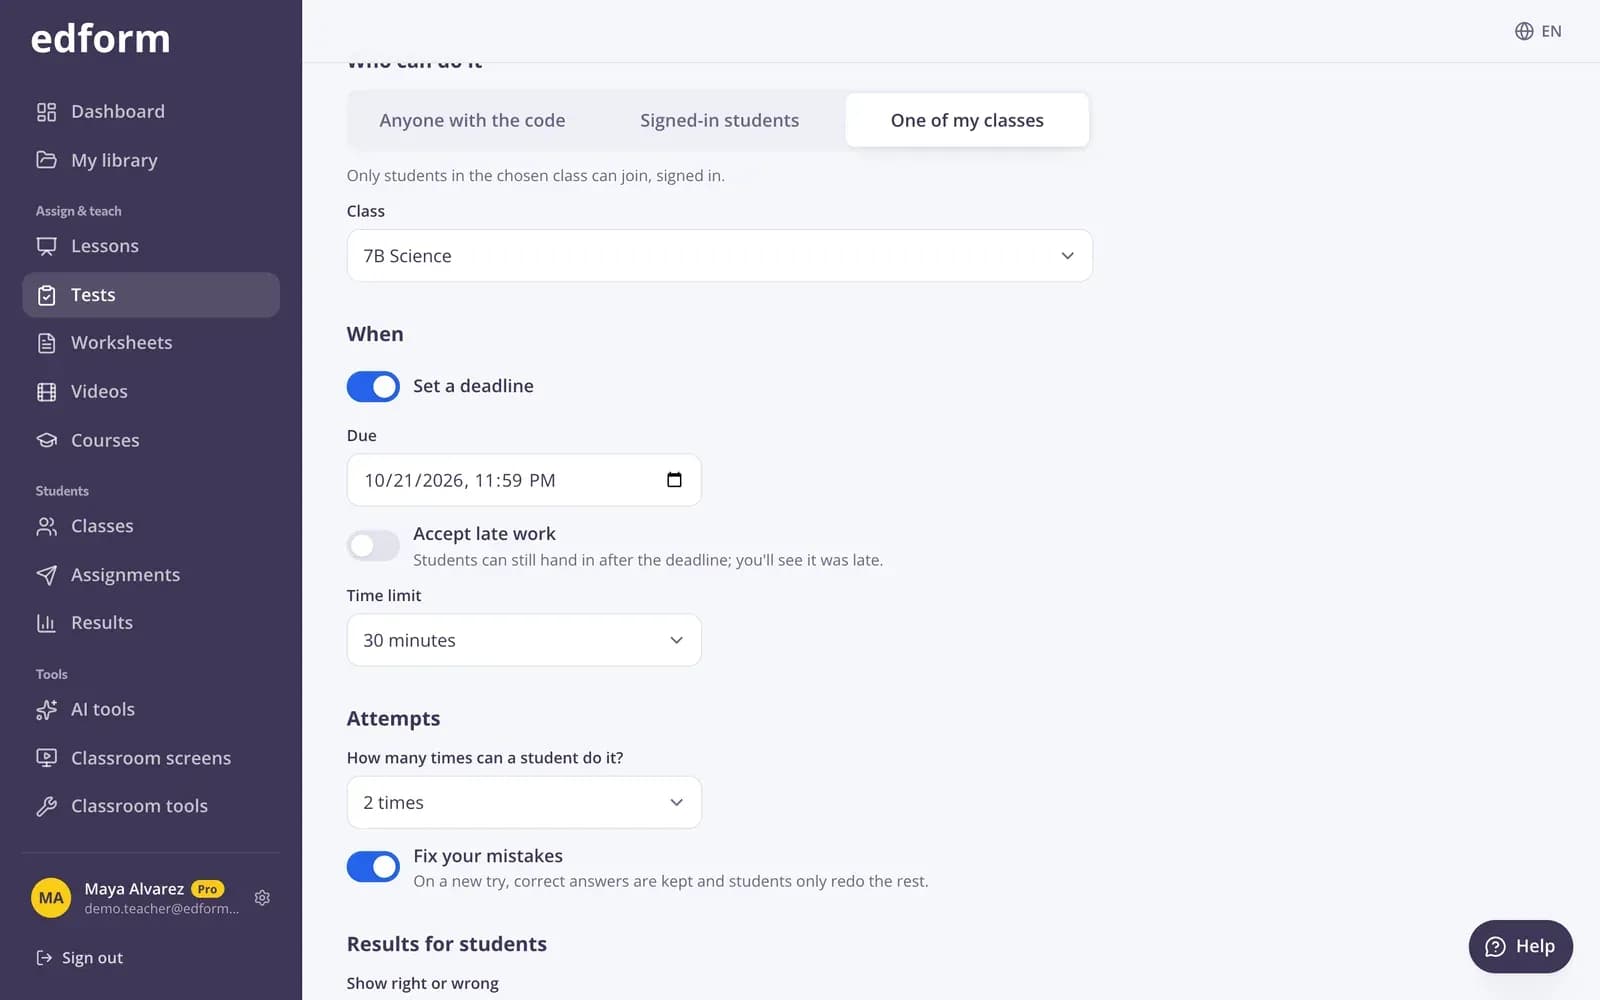
Under “Who can do it” choose “Anyone with the code” (students just type their name), “Signed-in students” or “One of my classes”.
Step 4: Set the deadline and time limit
“Set a deadline” is on and starts one week ahead. Turn on “Accept late work” to allow late hand-ins, and pick a “Time limit” if students should finish within a set time.
Step 5: Choose attempts and results
Pick how many times a student can do it. Under “Results for students” choose when they see “Show right or wrong” and “Show the correct answers”: right after each question, after handing in, after the deadline or never.
Step 6: Click “Give homework”
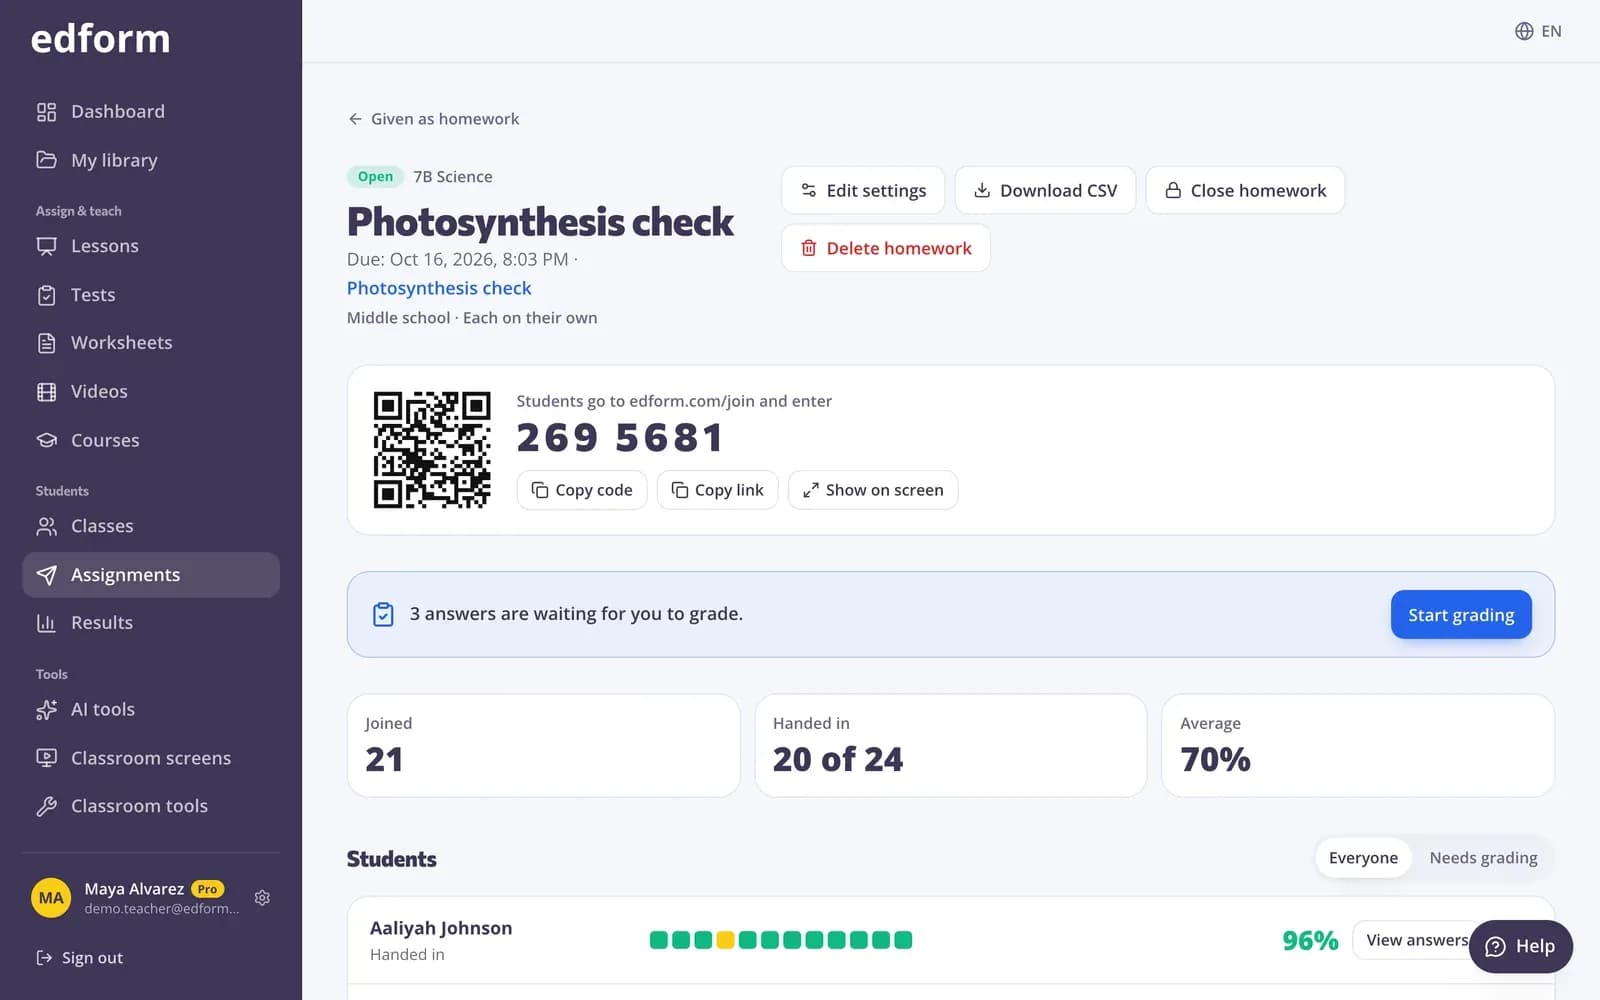
The homework is created and its page opens with the code for your students.
Share it with your students
Step 1: Share the code, link or QR code
The homework page shows a 7-digit code and a QR code. Use “Copy code” or “Copy link”, or click “Show on screen” to project a big QR code and the code.
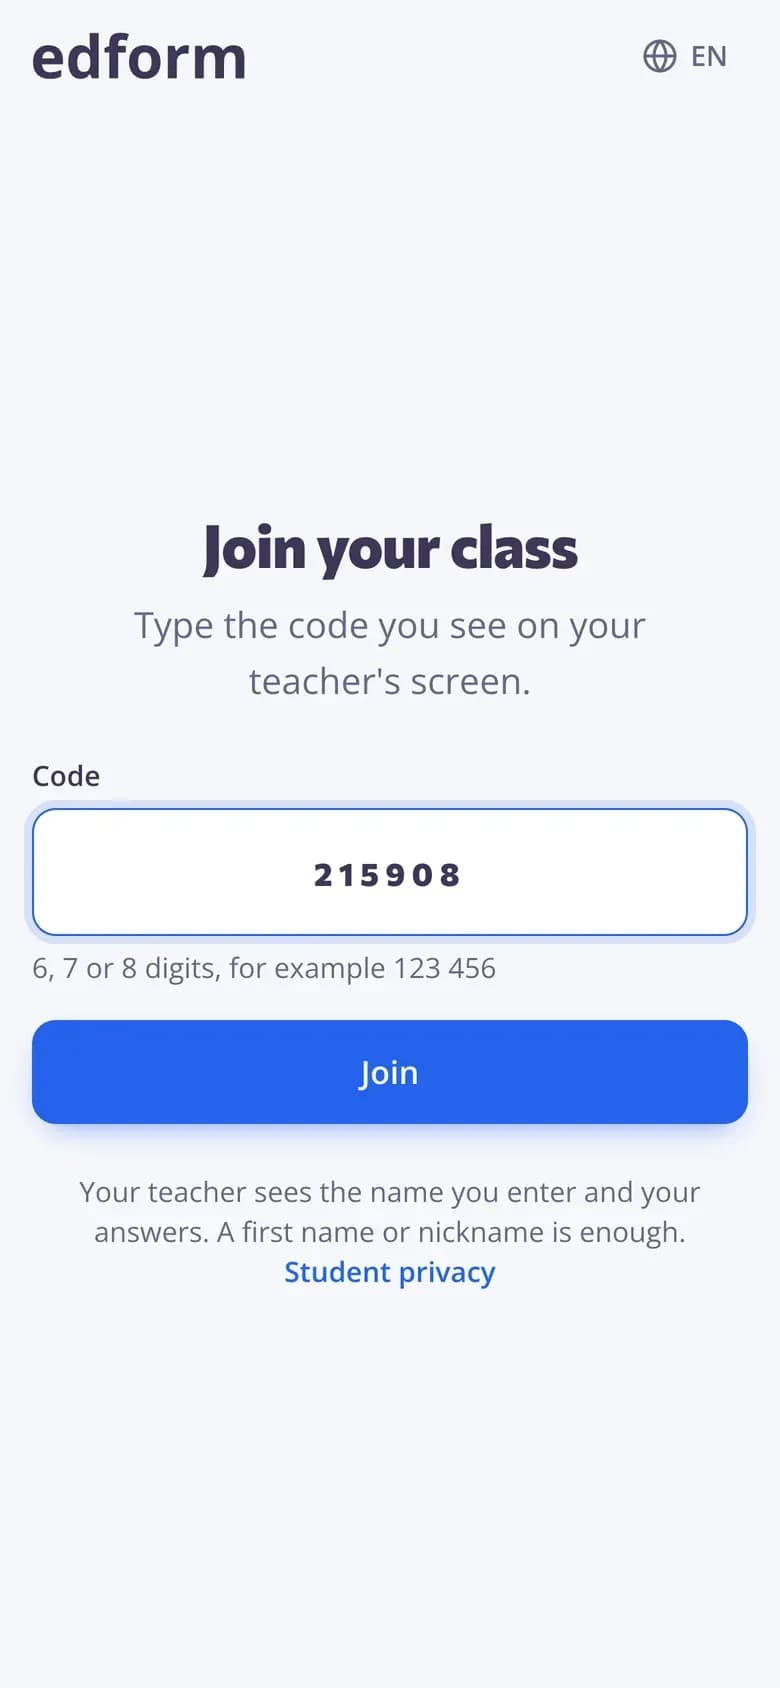
Step 2: Students join
Students open the join address shown next to the code, type the code and press “Join”. With “Anyone with the code” they type their name and press “Start”.
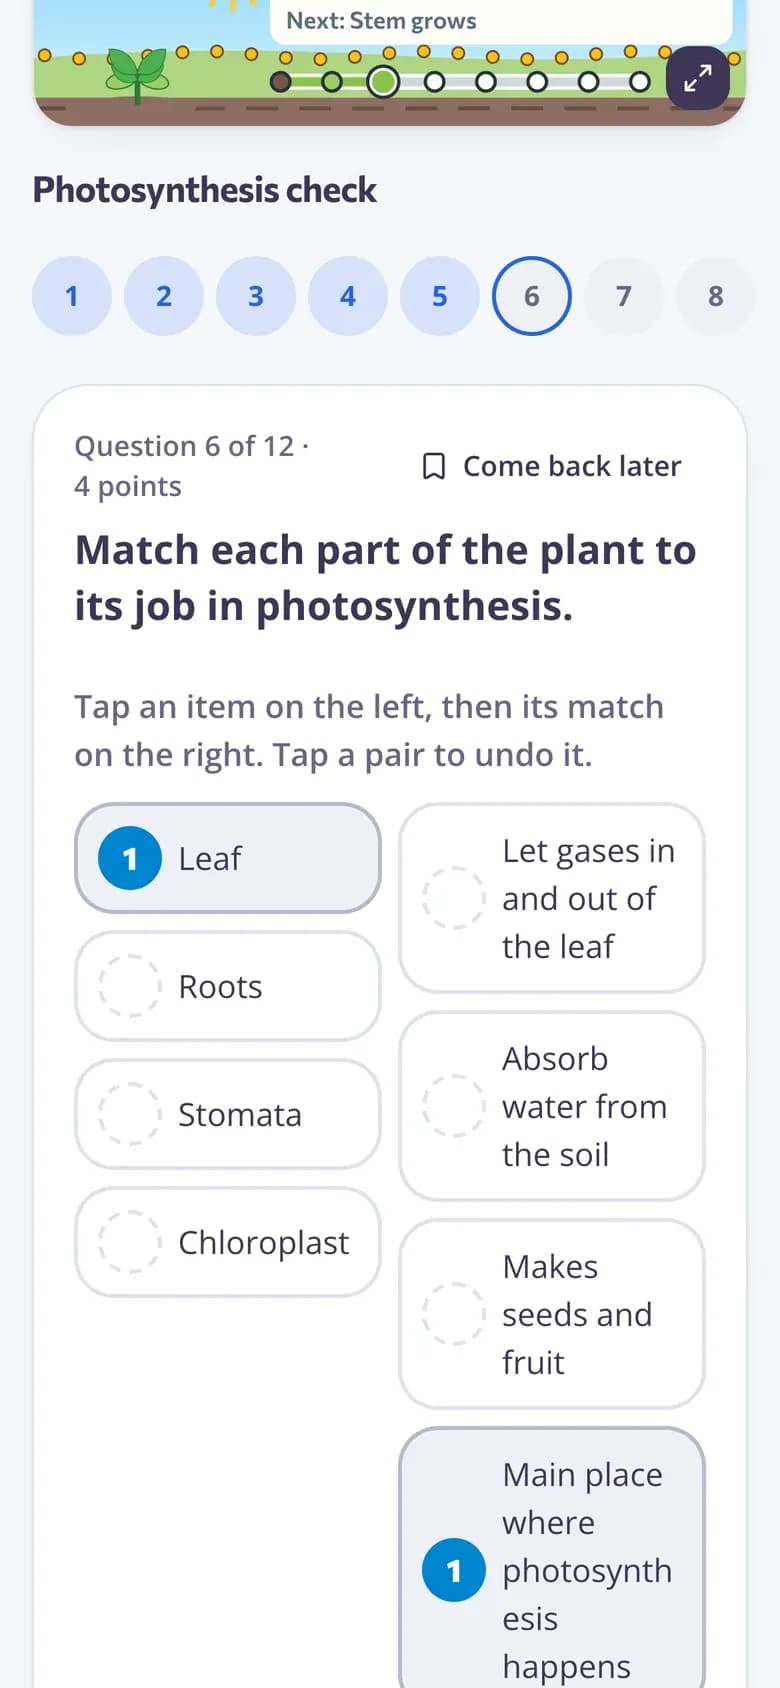
Step 3: Students answer and hand in
Students see one question per screen and press “Hand in” at the end. Signed-in students also find the homework under “My homework”.
Change or close the homework
Step 1: Click “Edit settings”
On the homework page you can change the name, deadline, late work, attempts and results, or close it automatically on a date. Changes apply to students right away.
Step 2: Close it when you're done
“Close homework” stops students from starting or handing in; “Open again” undoes it. “Delete homework” removes the code and every student answer.
Questions
Do my students need an account or an email address?
No. With “Anyone with the code” students only type their name. Choose “Signed-in students” or “One of my classes” when you want results saved to student accounts.
Can I change the questions after giving the homework?
No, so every student is marked on the same test. Edit the test and give it as new homework; the results of the first one stay.
What if one student needs more time or another try?
Use the menu next to the student on the homework page: you can allow one more attempt, add extra time or set a later deadline just for them.
Can I see if a student left the page during the homework?
Yes. The results list shows “left the page” with a count for students who switched away while working.
Related
- Online homeworkGive homework with a code and a deadline
- Join with a codeStudents type a code — no account needed
- Homework reportsSee every student's score, each answer and how the class did on each question.
- Student accommodationsRead-aloud, extra time, extra attempts and personal deadlines for students who need them.
- Create a quizMake a test with any mix of question types, preview it and use it with your class.