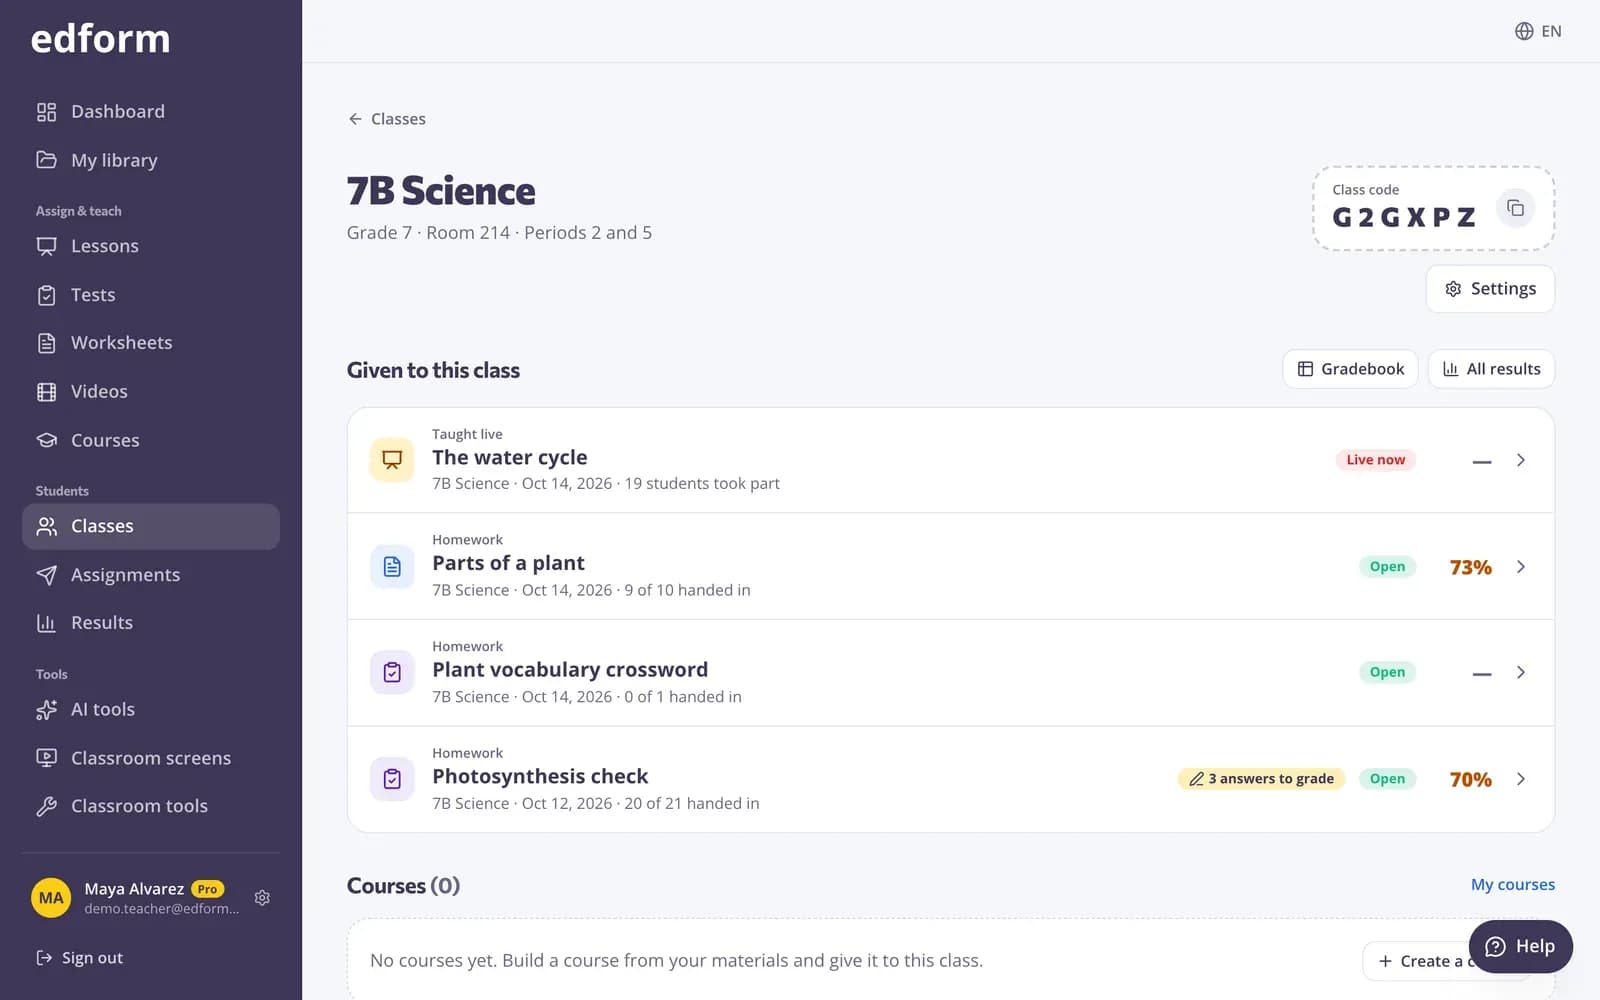
Create a class
Step 1: Open “Classes”
Choose “Classes” in the menu. You see all your classes here; the dashboard also has a “Your classes” box.
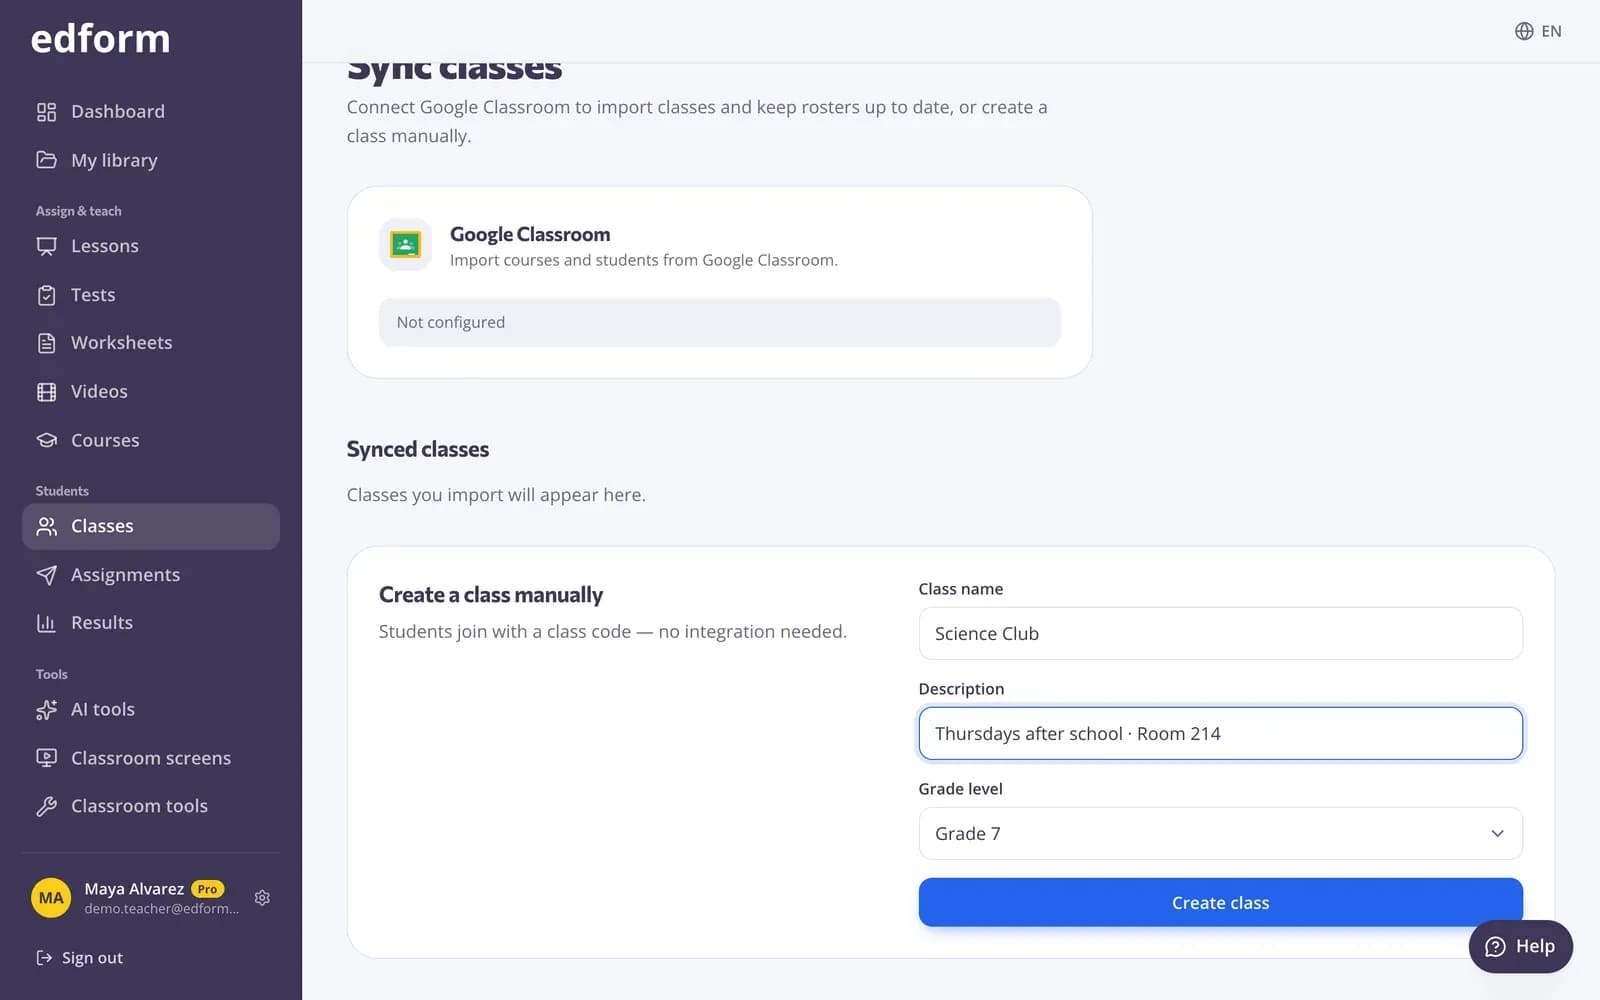
Step 2: Press “Create class”
This opens “Create a class”. You don't need any other service for this.
Step 3: Name the class and choose a grade
Type the “Class name”, for example Biology 7B, add a “Description” if you like, and choose the “Grade level”. Press “Create class” and the class page opens.
Let students join with the class code
Step 1: Copy the class code
The “Class code” is at the top of the class page. Click it to copy it, then share it with your students or write it on the board.
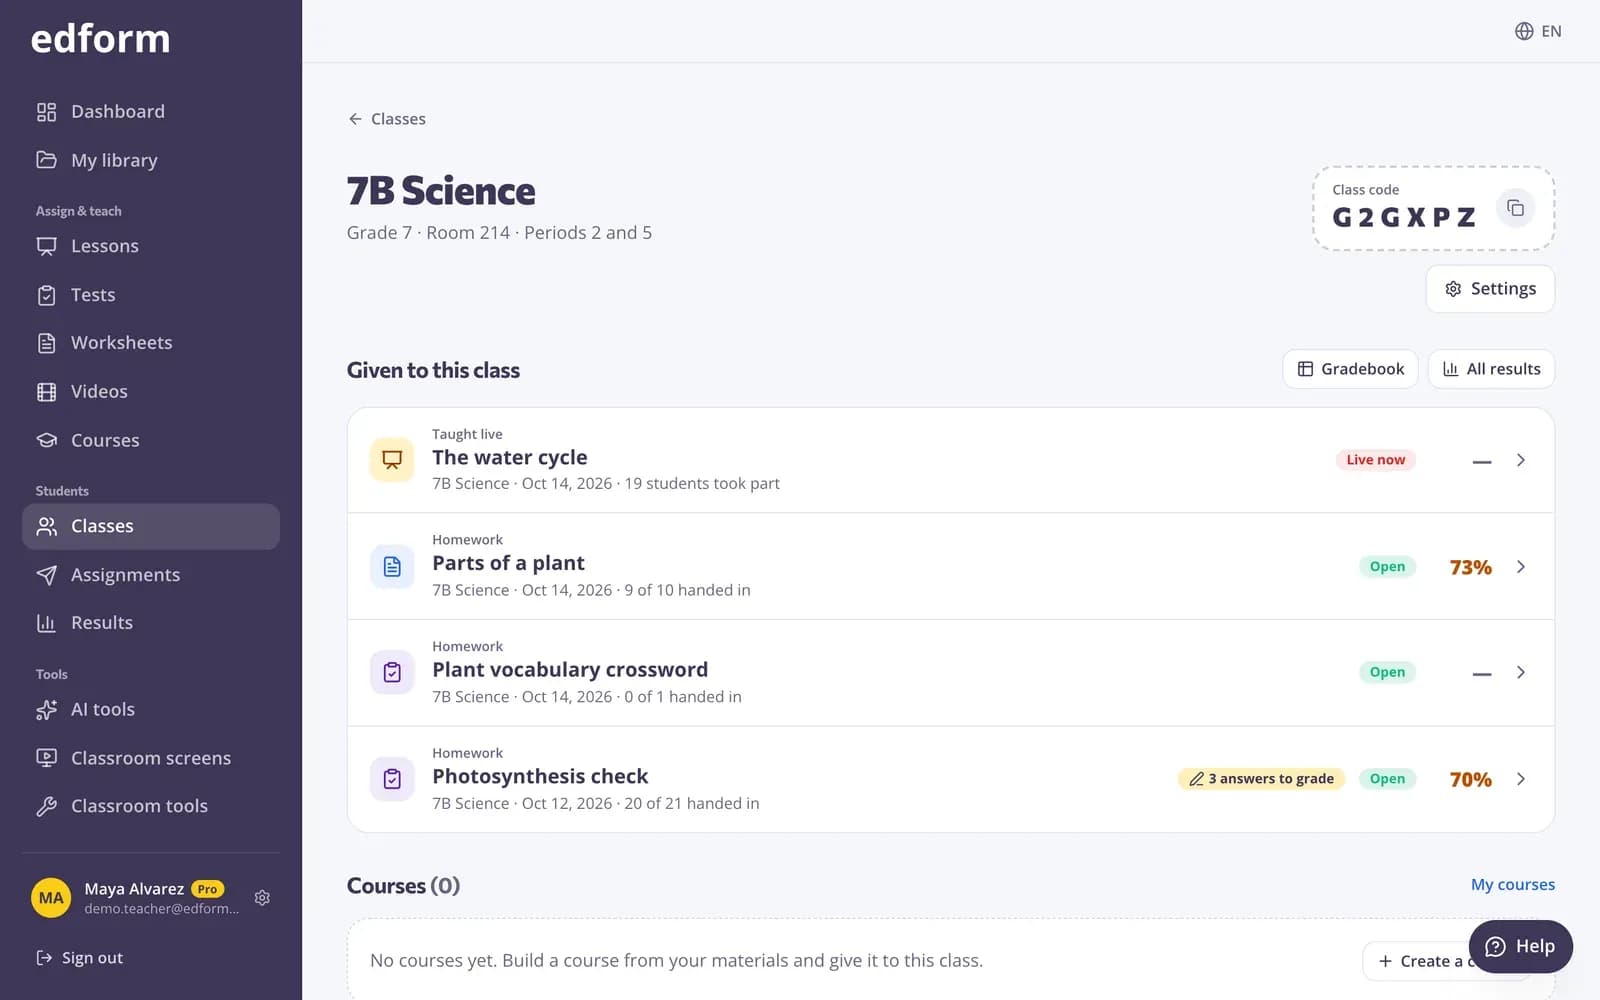
Step 2: Students type the code in “My classes”
Each student signs in to their own student account, opens “My classes”, types the code under “Join a class” and presses “Join”. They appear in your “Members” list.
Add students from a list
Step 1: Paste names or upload a CSV file
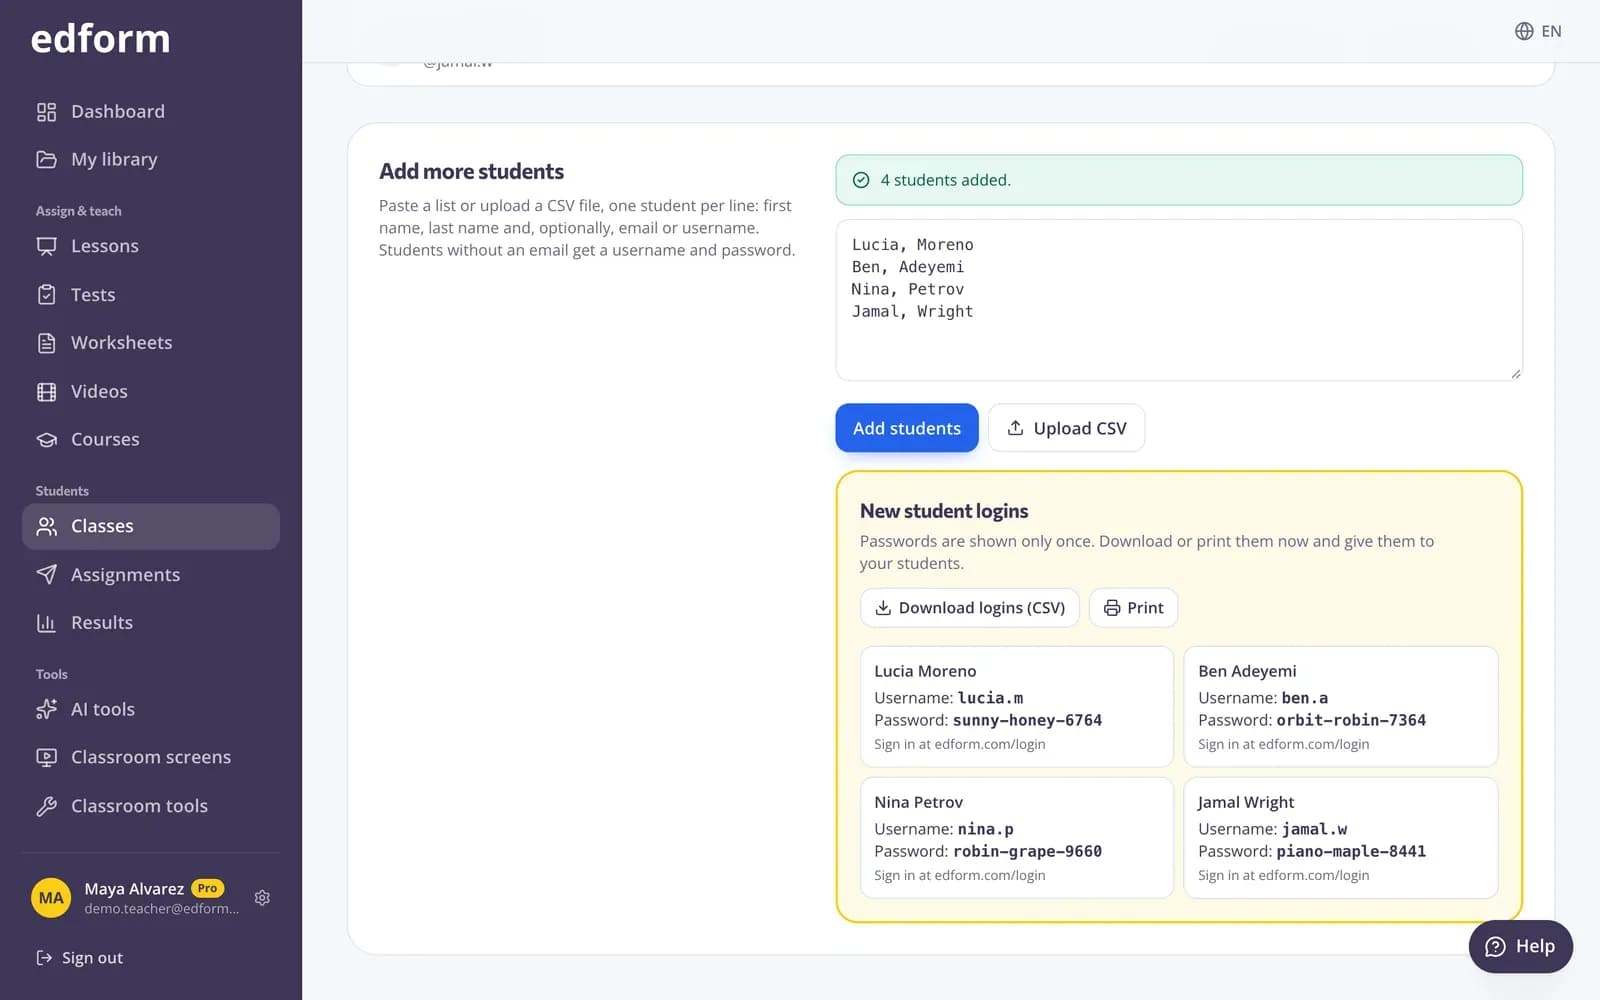
Under “Add students”, put one student per line: first name, last name and, if you have it, an email address or a username. Or press “Upload CSV” to load a file.
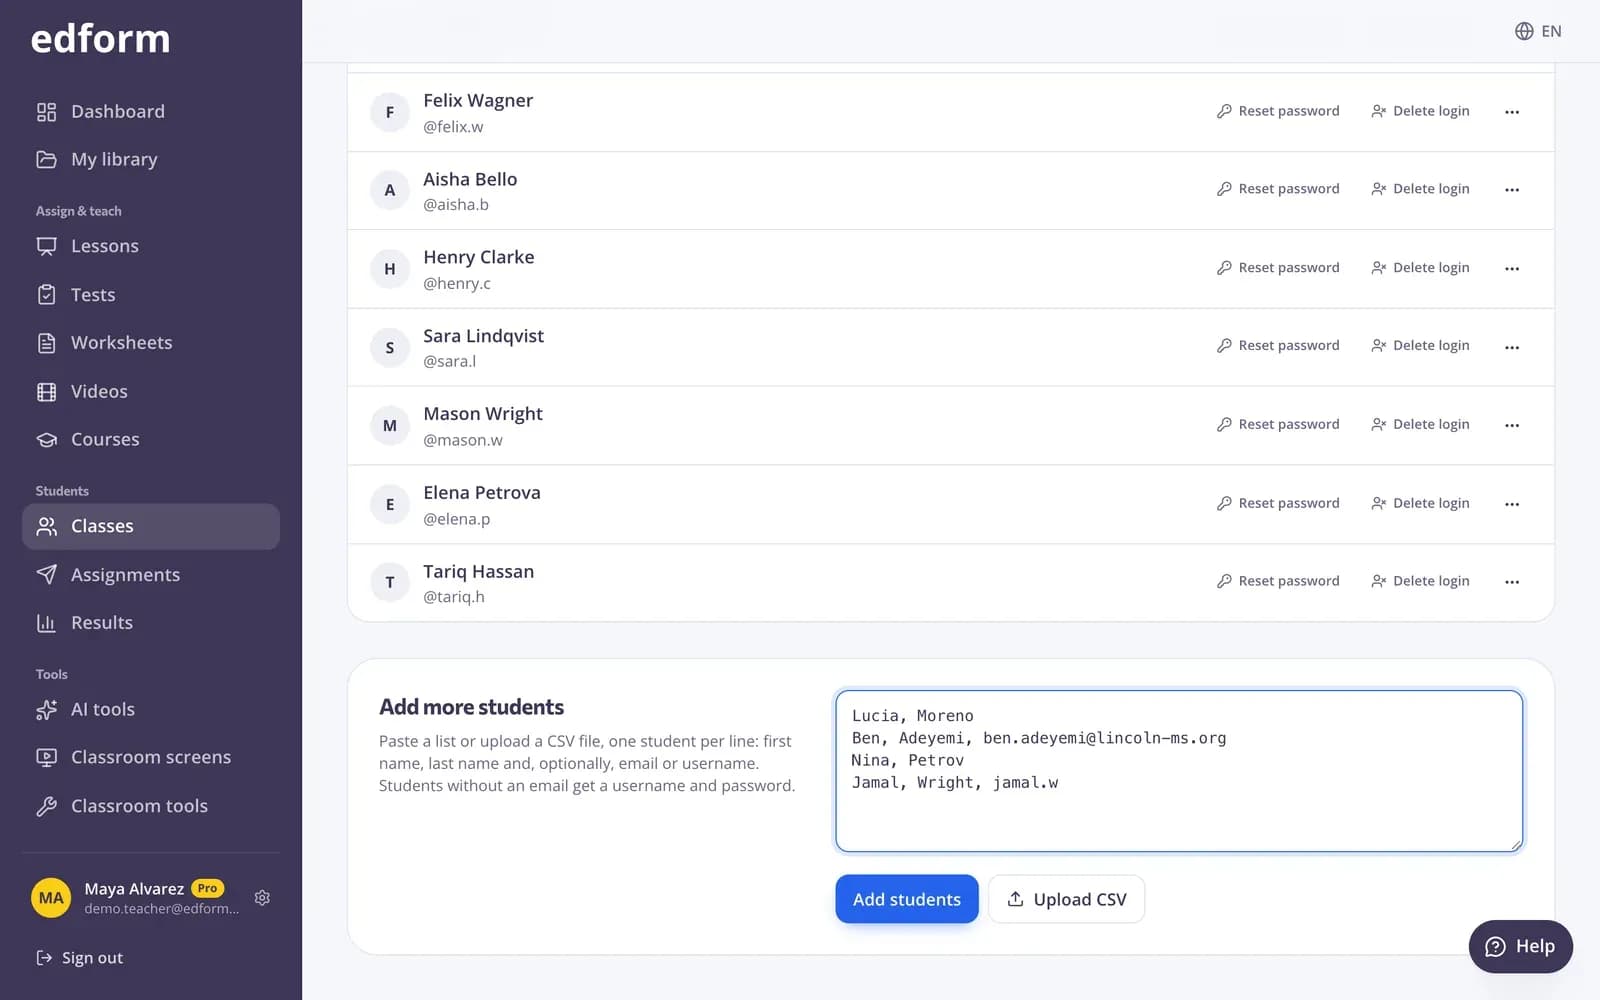
Step 2: Press “Add students”
You can add up to 500 students at once. Edform tells you how many were added and how many lines it skipped because they were duplicates or not valid.
Step 3: Save the new logins
Students without an email address get a username and password, shown once under “New student logins”. Press “Download logins (CSV)” or “Print” to keep them.
Manage the class
Step 1: Check who is in the class
The “Members” list shows every student. Co-teachers have a “Teacher” badge, and students who haven't signed up yet show “Invited”.
Step 2: See what you gave the class
“Given to this class” lists the latest homework and live activities with how many students handed in and the average score. Press one to open its report, or press “Gradebook” to see every student's scores side by side.
Step 3: Look after a student
Press “…” next to a student to “See results”, “Edit name” (for students you added from a list) or “Remove from class”. Removing a student keeps their answers in your results.
Step 4: Reset a forgotten password
Open the “…” menu next to a student who signs in with a username, choose “Reset password” and confirm. The new password is shown once. For logins you created, “Delete login” in the same menu erases the account and its answers when a student leaves.
Step 5: Change the class settings
Press “Settings” to change the class name, description or grade. Turn off “Students can join with the class code” when everyone is in, or press “Get a new code” if the code was shared outside your class.
Step 6: Export the roster
Press “Export CSV” above the members list to download the class list as a spreadsheet.
Step 7: Archive the class at the end of the year
In “Settings”, press “Archive class”. Students no longer see it, but nothing is deleted: the class waits under “Archived classes” on the Classes page and “Restore class” brings it back.
Questions
Do my students need an email address?
No. Leave the email out when you add them and Edform creates a username and password for each student.
How many students can I add at once?
Up to 500 students in one list. For a bigger roster, add it in parts.
Do I need a class to give homework?
No. Homework can be open to anyone with the code. A class lets you choose “One of my classes”, so only your signed-in students can join and you see who hasn't started yet.
What happens to results if I delete a class or remove a student?
They stay. Homework and live activities keep their results under “Results”. If you may need the class again, archive it instead of deleting it.
Related
- Student loginsCreate usernames and passwords for students without email and help them sign in.
- Assign homeworkGive a test as homework with a code, link or QR code and set the deadline.
- Join with a codeStudents type a code — no account needed
- Student logins without emailUsernames and passwords for students without email