Upload your worksheet
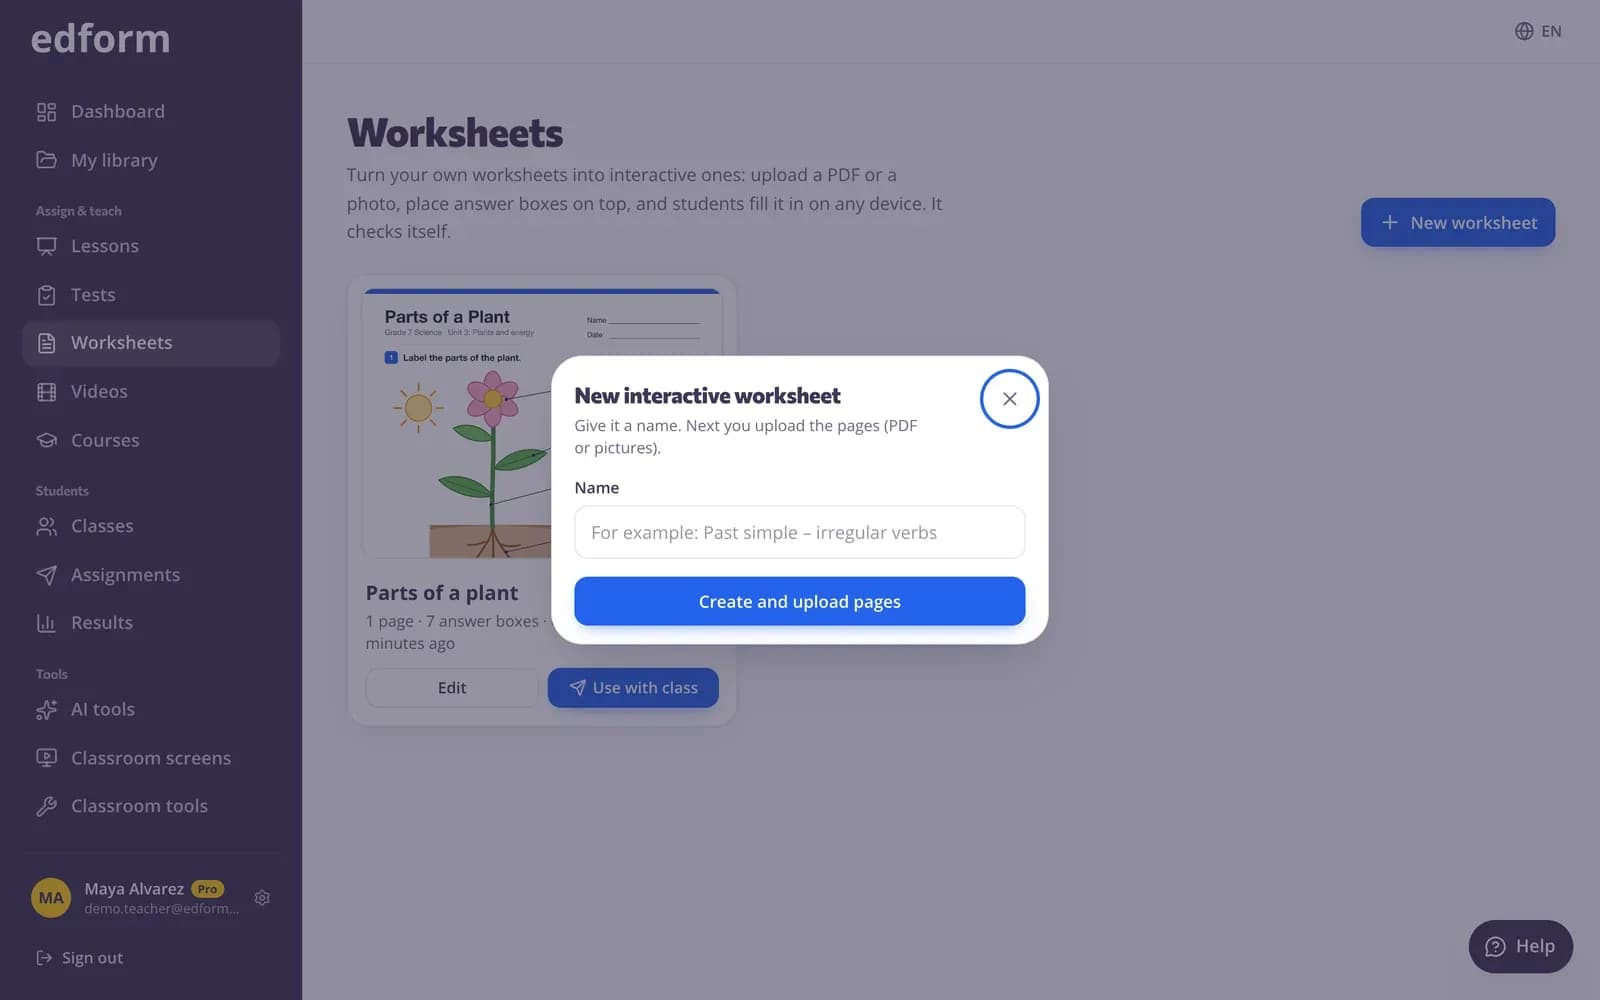
Step 1: Press “New worksheet”
Choose “Worksheets” in the menu, or “Make a worksheet” on the dashboard. Press “New worksheet”, type a “Name” and press “Create and upload pages”.
Step 2: Upload the PDF or photos
Under “Upload your worksheet”, press “Choose a file” or drop files on the page. You can use PDF, JPG, PNG or WebP files up to 25 MB each.
Step 3: Or use pages from your materials
Press “From my materials” to make pages from one of your tests, lessons or AI materials, or from another worksheet. A test can also become a crossword, word search or match-up sheet. The pages look like the printed copy, without the answer key. Tap a page to leave it out, then press “Add pages”.
Step 4: Add or arrange pages
Press “Add pages” under the page list to upload more. Use the arrows next to a page to move it, or the bin to delete it. A worksheet can have up to 40 pages.
Add answer boxes
Step 1: Pick a tool
The toolbar above the page has “Select”, “Write”, “Number”, “Choose”, “Tick”, “Drag & drop”, “Join”, “Long answer” and “Question”. Hover over a tool to see what it does.
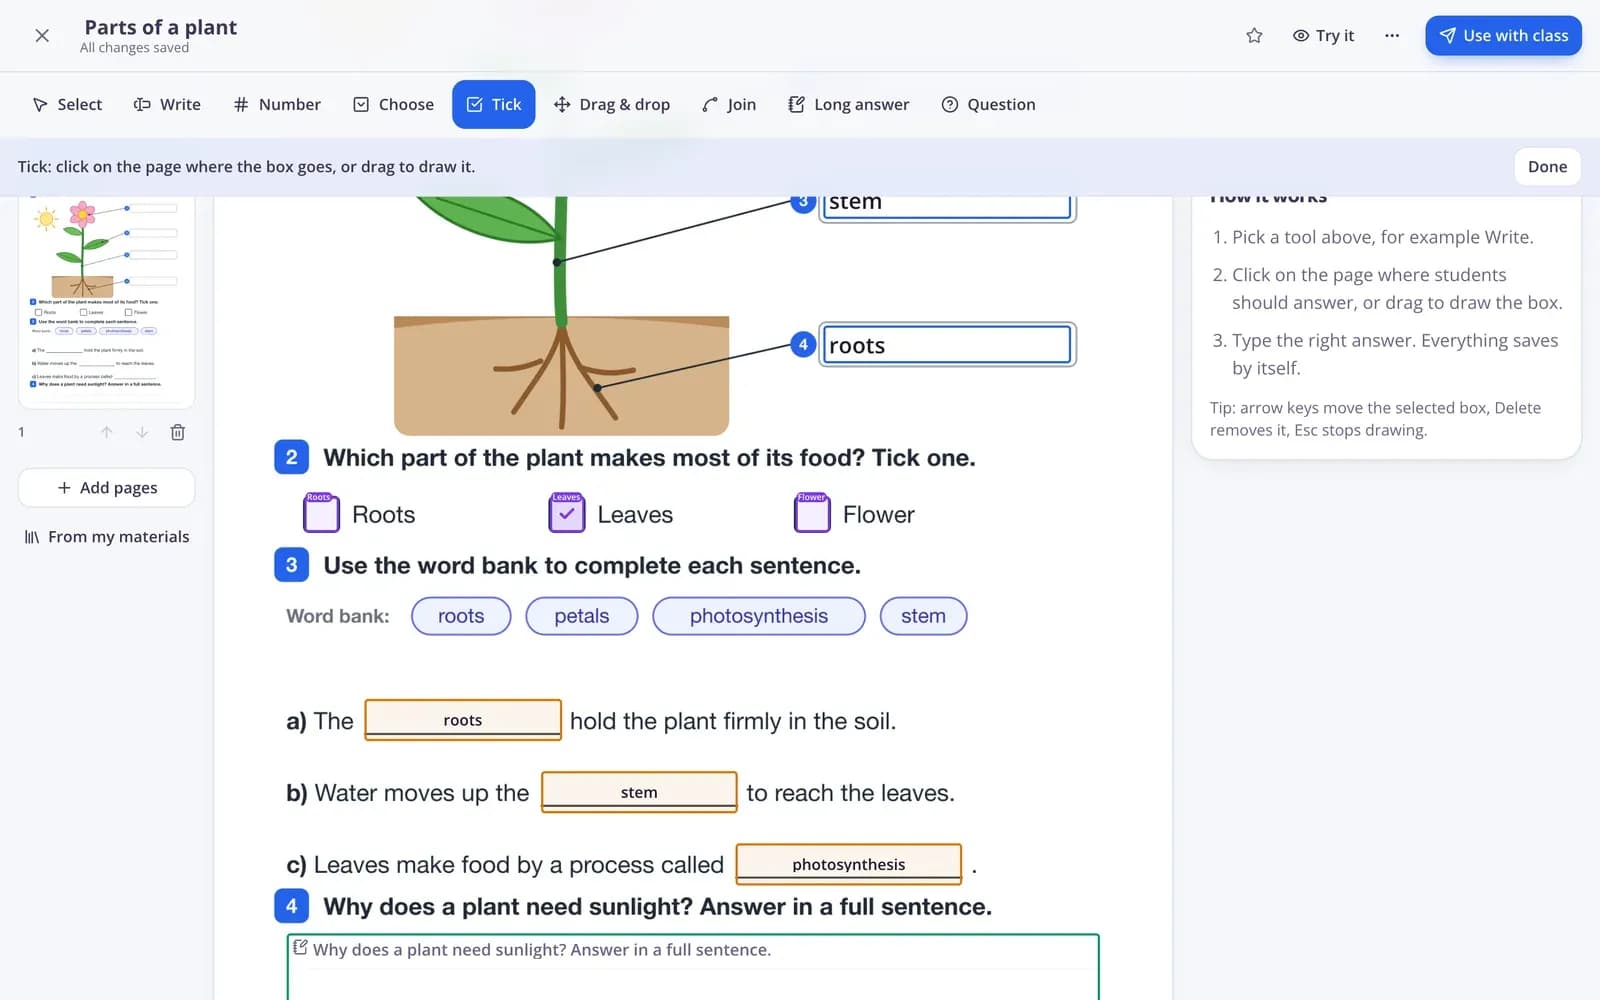
Step 2: Click or drag on the page
Click where students should answer, or drag to draw the box. With “Select” you can move a box, or drag its corner to resize it.
Step 3: Type the right answer
The panel next to the page shows the box's settings: the “Right answer”, “Add another right answer”, “Capital letters must match” and “Points”. Everything saves by itself, and the top bar shows “All changes saved”.
Step 4: Let AI find the boxes
Press “Find answer boxes with AI” above a page. AI suggests boxes with answers for the blanks, choices and matching columns. Check each one and press “Accept”, or use “Accept all” or “Remove all”. Nothing is saved until you accept it.
Use the other box types
Step 1: Tick boxes
With “Tick”, draw a box over each choice on the page, then mark the right ones under “Which boxes are right?”. Choose how a picked box looks: “Tick”, “Circle” or “Highlight”.
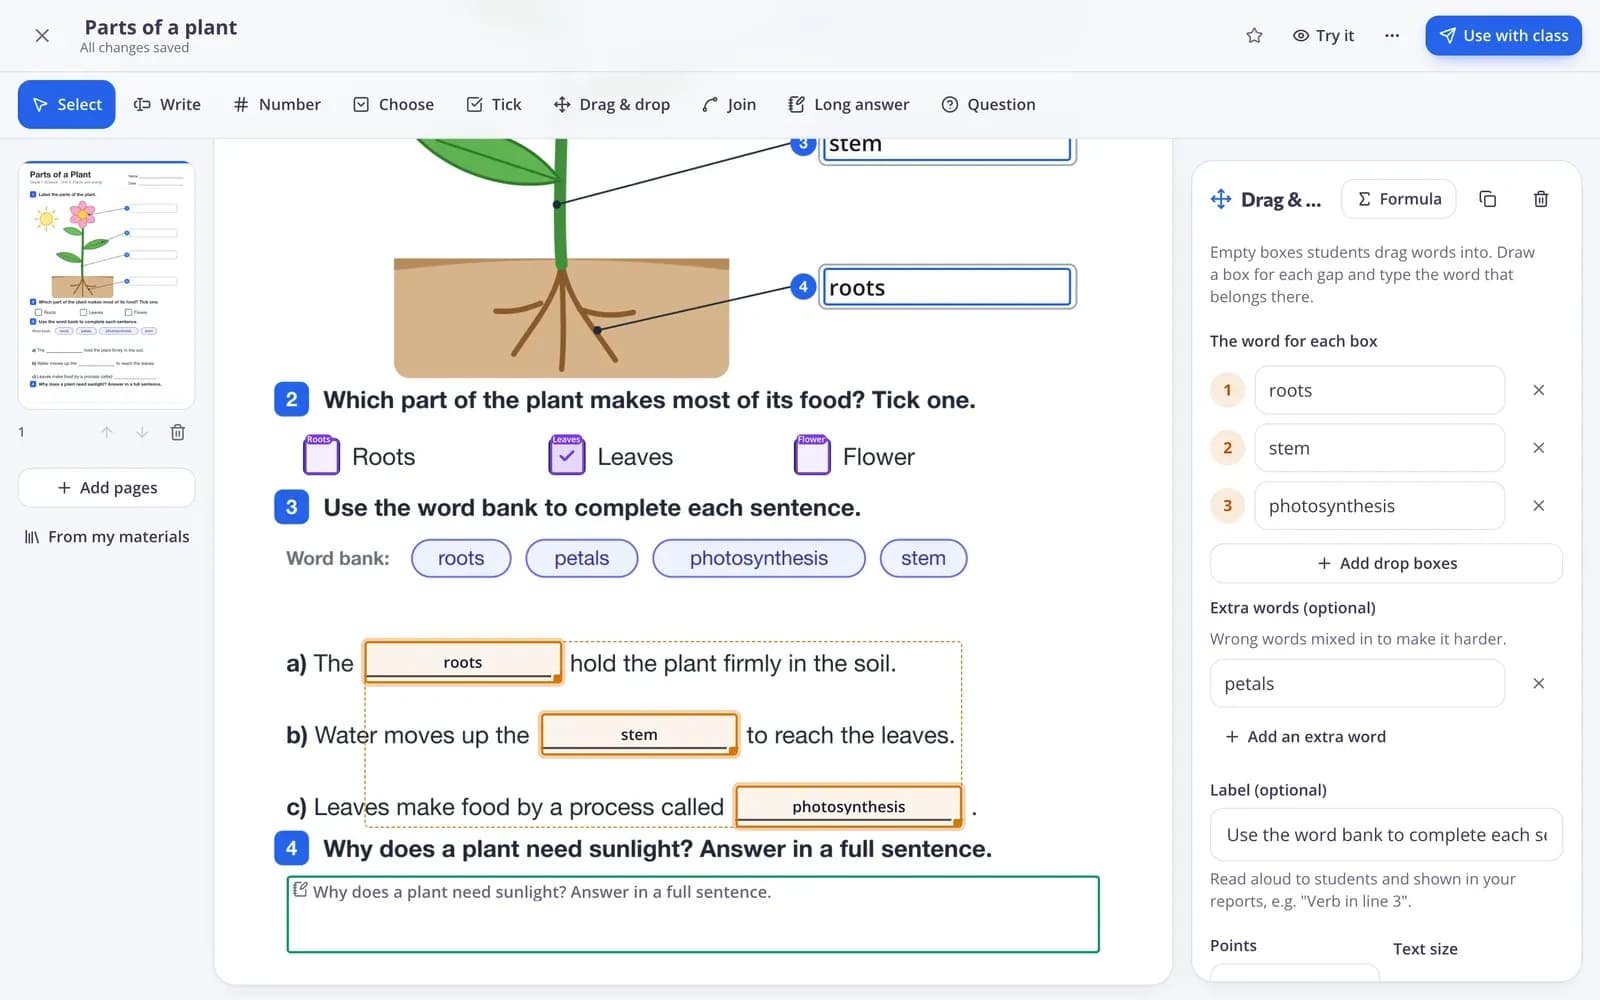
Step 2: Drag & drop
Draw an empty box for each gap and type the word that belongs there. Add “Extra words (optional)” to make it harder. Students drag the words into the boxes. For a math word or choice, click in its box in the panel and press “Formula”.
Step 3: Join
Click to place a dot, then click where the dot it joins should be, and repeat for each pair. Students connect the dots with lines.
Step 4: Long answer and Question
“Long answer” is a big box for sentences that you mark yourself. “Question” puts any question type from tests on the page as a button that opens in a window. To reuse questions you made before, choose “Add questions I already made” in the “More” menu: it lists your tests, worksheets, lessons and videos.
Try it and give it to students
Step 1: Press “Try it”
See the worksheet the way students do; nothing is saved. Turn on “Show right and wrong while answering” to check your answer boxes. Press “Back to editing” to continue.
Step 2: Press “Use with class”
“Use worksheet” offers “Homework”, a “Practice link” where students check their answers as they go and can try again, “Live in class” and “Print”. The questions can also be played as a game.
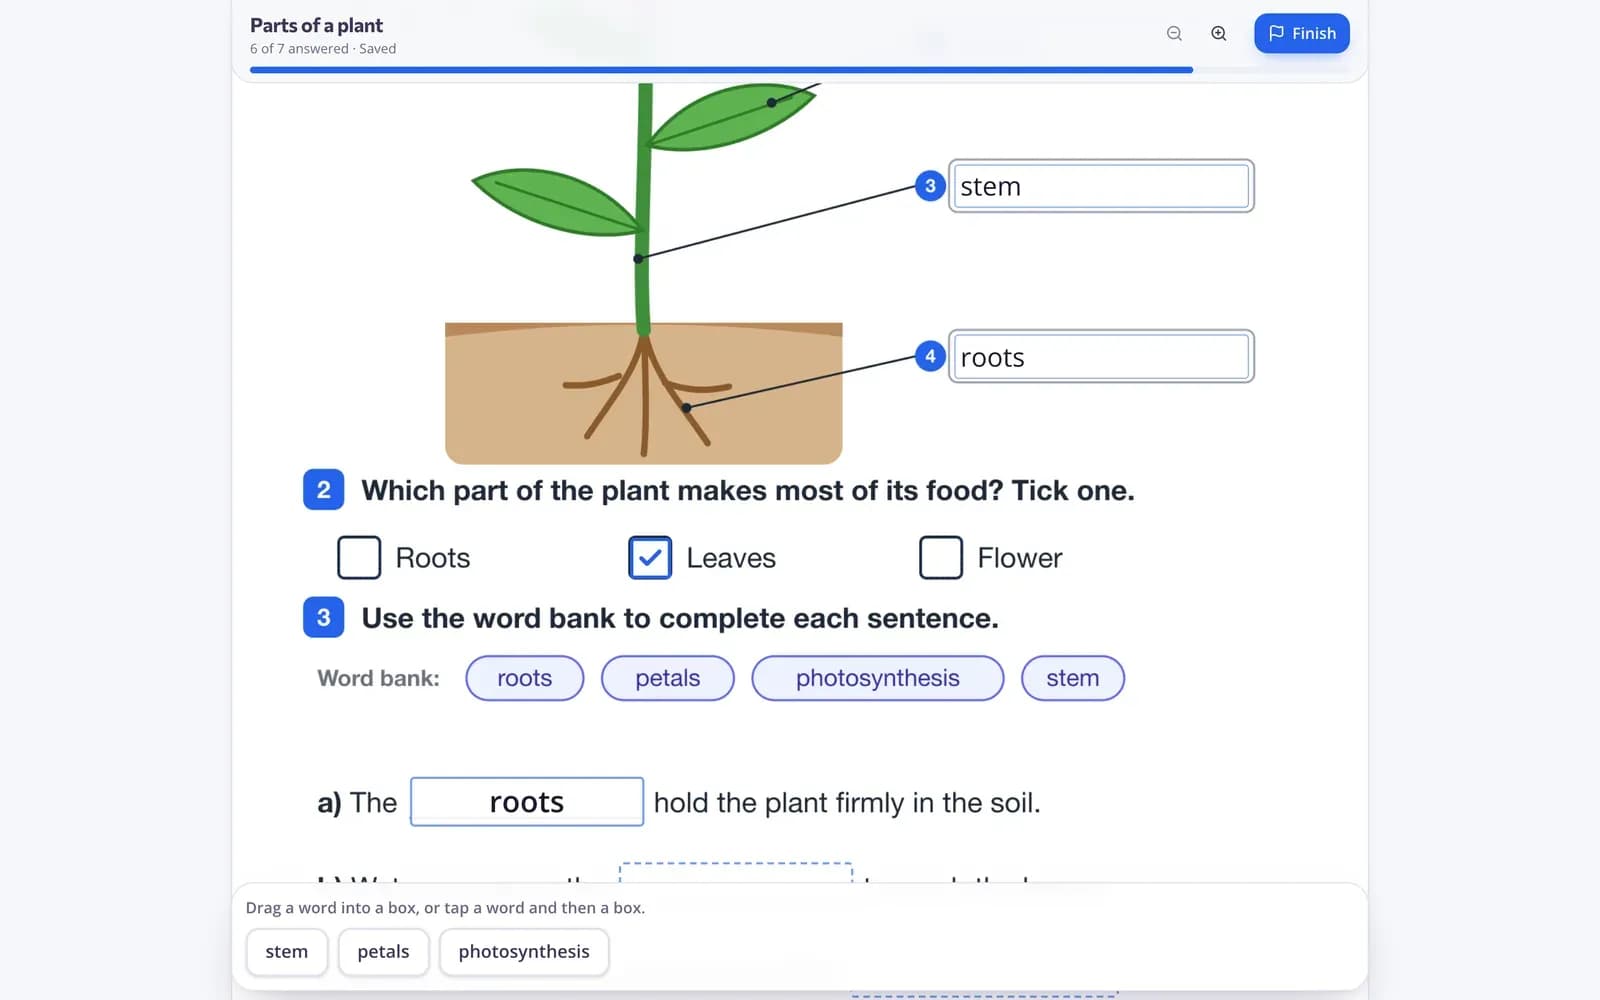
Step 3: Students fill it in on any device
Students type, tick, drag and join right on the page and press “Finish”. They see their marks, and you see every answer in the results.
Questions
Which files can I upload?
PDF files and JPG, PNG or WebP pictures, up to 25 MB per file and 40 pages per worksheet. A photo of a paper worksheet works too.
My PDF won't upload. Why?
PDFs protected with a password or damaged files can't be opened. Save it again without a password, or upload photos of the pages instead.
Who marks the answers?
Edform marks every box automatically except “Long answer” boxes, which you mark yourself in the results.
Can I print the worksheet?
Yes. Choose “Print” under “Use with class” and print a “Student copy” or an “Answer key”.
Related
- Interactive worksheetsTurn any PDF into an online worksheet
- PDF to interactive worksheetUpload a PDF, add answer boxes, it marks itself
- Assign homeworkGive a test as homework with a code, link or QR code and set the deadline.
- Grade open answersGrade written answers with points, a checklist and feedback, or change an automatic score.
- Printable quizzesPrint any quiz with a matching answer key